
How to Install Venetian Blinds A Practical DIY Guide
- Blindsmart im
- Oct 17
- 10 min read

Thinking about fitting your own blinds but feeling a bit daunted? I get it. It seems like one of those jobs best left to the pros, but trust me, getting that professional finish is easier than you might think.
This guide will walk you through the whole process, breaking it down into three key stages: getting your measurements spot-on, mounting the brackets securely, and making those all-important final adjustments.
Your Guide to a Flawless Blind Installation
Forget generic instructions. We're going to dive into the practical details that make the difference between a wobbly, ill-fitting blind and one that looks like it was installed by a seasoned expert. We'll start with a quick look at why Venetian blinds are such a great choice before getting our hands dirty.
Venetian blinds have a timeless style and give you brilliant control over light and privacy. That slatted design is what lets you filter the sunlight just so, setting the perfect mood in any room. But getting that perfect fit all comes down to the prep work.
If there's one mistake I see time and again, it's rushing the measurements. Spending an extra five minutes with the tape measure now will save you a massive headache later when you realise the blinds don't fit the recess properly.
Before you even think about picking up a drill, let's get you properly prepared. This guide is here to help you:
Feel Confident: We’ll demystify the process and show you it’s a totally manageable DIY job.
Choose the Right Fit: We'll explain the difference between fitting your blinds inside or outside the window recess.
Dodge Common Problems: You'll learn how to deal with things like wonky window frames or annoying obstructions.
The aim here is to give you the know-how to get this project done right, leaving you with a polished, professional look you can be genuinely proud of.
Choosing Your Blinds and Gathering the Right Tools
Getting your Venetian blind installation right starts well before you even think about picking up a drill. A bit of forward planning at this stage makes the whole job smoother, starting with picking the perfect material for your room and making sure you have all the necessary tools lined up.
Finding the Right Material
The choice between real wood, faux wood, and aluminium is about more than just how they look; it’s about what works best for the space.
For a living room or bedroom, you really can’t beat the classic, warm feel of real wood. It’s a popular choice for a reason and a real favourite for DIY projects. In fact, the UK market for wooden Venetian blinds is expected to grow by 3.76% each year through to 2032.
But what about rooms with a lot of moisture, like a kitchen or bathroom? That’s where faux wood comes in. It gives you that same timeless look but is completely waterproof and a breeze to clean. If you're after a more modern, sleek style, aluminium is a brilliant alternative, perfect for home offices or contemporary living spaces. Take some time to explore the different Venetian blind materials to see what fits your home.
Which Venetian Blind Material Is Right for Your Room?
Here’s a quick comparison to help you weigh up the options for different parts of your home.
Material | Best For | Pros | Cons |
|---|---|---|---|
Real Wood | Living rooms, bedrooms, and dining rooms. | Natural, warm appearance; excellent light control; classic aesthetic. | Can warp in high-moisture areas; requires more care. |
Faux Wood | Kitchens, bathrooms, and utility rooms. | Waterproof and durable; easy to clean; mimics the look of real wood. | Can be heavier than real wood or aluminium blinds. |
Aluminium | Home offices, modern kitchens, and contemporary spaces. | Sleek, modern look; lightweight and durable; wide range of colours. | Can be bent or dented more easily than wood. |
Ultimately, the best material depends entirely on the room's function and your personal style.
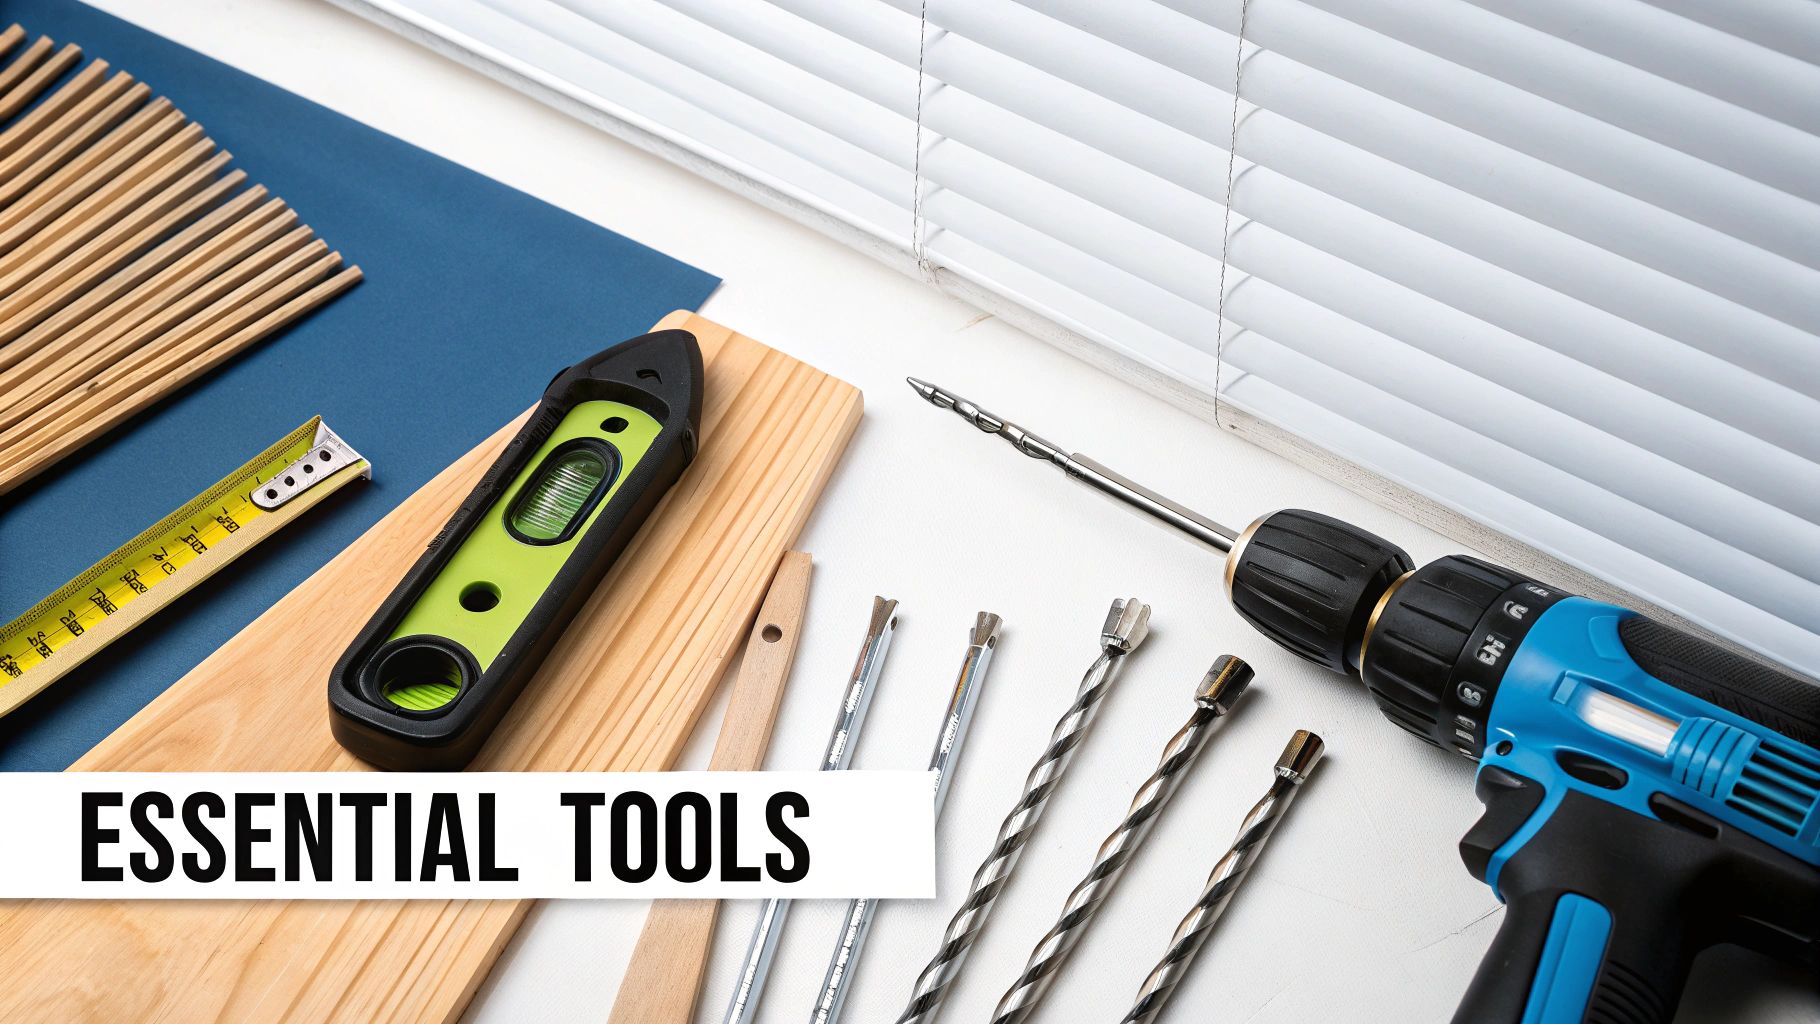
Your Essential Tool Checklist
Having everything you need within arm's reach before you start saves those annoying mid-project dashes to the DIY shop. Here's a list of what you'll want to have ready.
Steel Tape Measure: Essential for getting those measurements spot-on.
Pencil: For marking out your bracket positions clearly.
Spirit Level: This is non-negotiable. It’s the only way to be sure your blinds will hang perfectly straight.
Drill and Drill Bits: You’ll need a power drill. Make sure you have the right bit for your wall type – a wood bit for frames, a masonry bit for brick, or a specialist bit for plasterboard.
Screwdriver: A Phillips head is usually what you'll need for fixing the brackets.
Step Ladder: For working safely and comfortably at the top of the window.
From experience, a common pitfall is using the wrong wall plugs in plasterboard – or worse, none at all. Always use proper plasterboard fixings. Standard plugs just won't grip securely, and you'll find your lovely new blinds pulling away from the wall over time.
Getting Your Window Measurements Perfect
If there's one step you absolutely have to get right when learning how to install Venetian blinds, it's the measuring. Honestly, a mistake of just a few millimetres can be the difference between a snug, professional-looking finish and a blind that catches, looks awkward, or just doesn't work properly. Precision is everything.
Before you even pick up a tape measure, you need to decide where the blind will hang. Are you going for an inside mount, where the blind fits neatly inside the window recess? Or an outside mount, where it’s fixed to the wall above and around the frame? The one you choose completely changes how you measure.
Inside Mount Measurements
With an inside mount, your goal is to get the blind sitting perfectly within the window frame. Now, here's a tip from experience: almost no window recess is perfectly square. That's why you need to measure the width in three separate places – across the top, the middle, and the bottom.
Once you have those three numbers, always use the smallest one. This simple trick guarantees your blind won't scrape against the sides or get stuck when you're raising or lowering it. You’ll do the exact same thing for the height, measuring the drop on the left, in the centre, and on the right, and again, taking the smallest of the three measurements as your final number.
This visual guide breaks down the essential steps for getting it right, whether you're fitting your blinds inside or outside the recess.

Stick to this three-point check, and you'll sidestep the most common measuring mistakes and get a flawless fit.
Outside Mount Measurements
Thankfully, an outside mount is a lot more forgiving. For this style, you want the blind to overlap the window recess, which helps block out more light and gives you better privacy.
As a general rule of thumb, I always recommend adding at least 70mm (7cm) to both the final width and drop measurements of the recess itself. This overlap gives you plenty of coverage and creates a much more balanced, intentional look. You can even add a bit more if you want to create the illusion of a larger window.
If you’re dealing with a particularly tricky or unusual window shape, don't struggle on your own. It's often worth looking into custom-made blinds that are built exactly to your unique specifications.
Don’t forget to check for obstructions! Things like bulky window handles, dado rails, or even thick tiles can get in the way of your blind. Measure how far they stick out and make sure the brackets you choose will give you enough clearance for the blind to hang and operate smoothly.
A Practical Guide to Mounting Your Blinds
Alright, with your measurements sorted and tools laid out, we’re onto the satisfying part – actually getting the blinds up. This is where all that careful prep work comes together and you see your new window feature take shape.
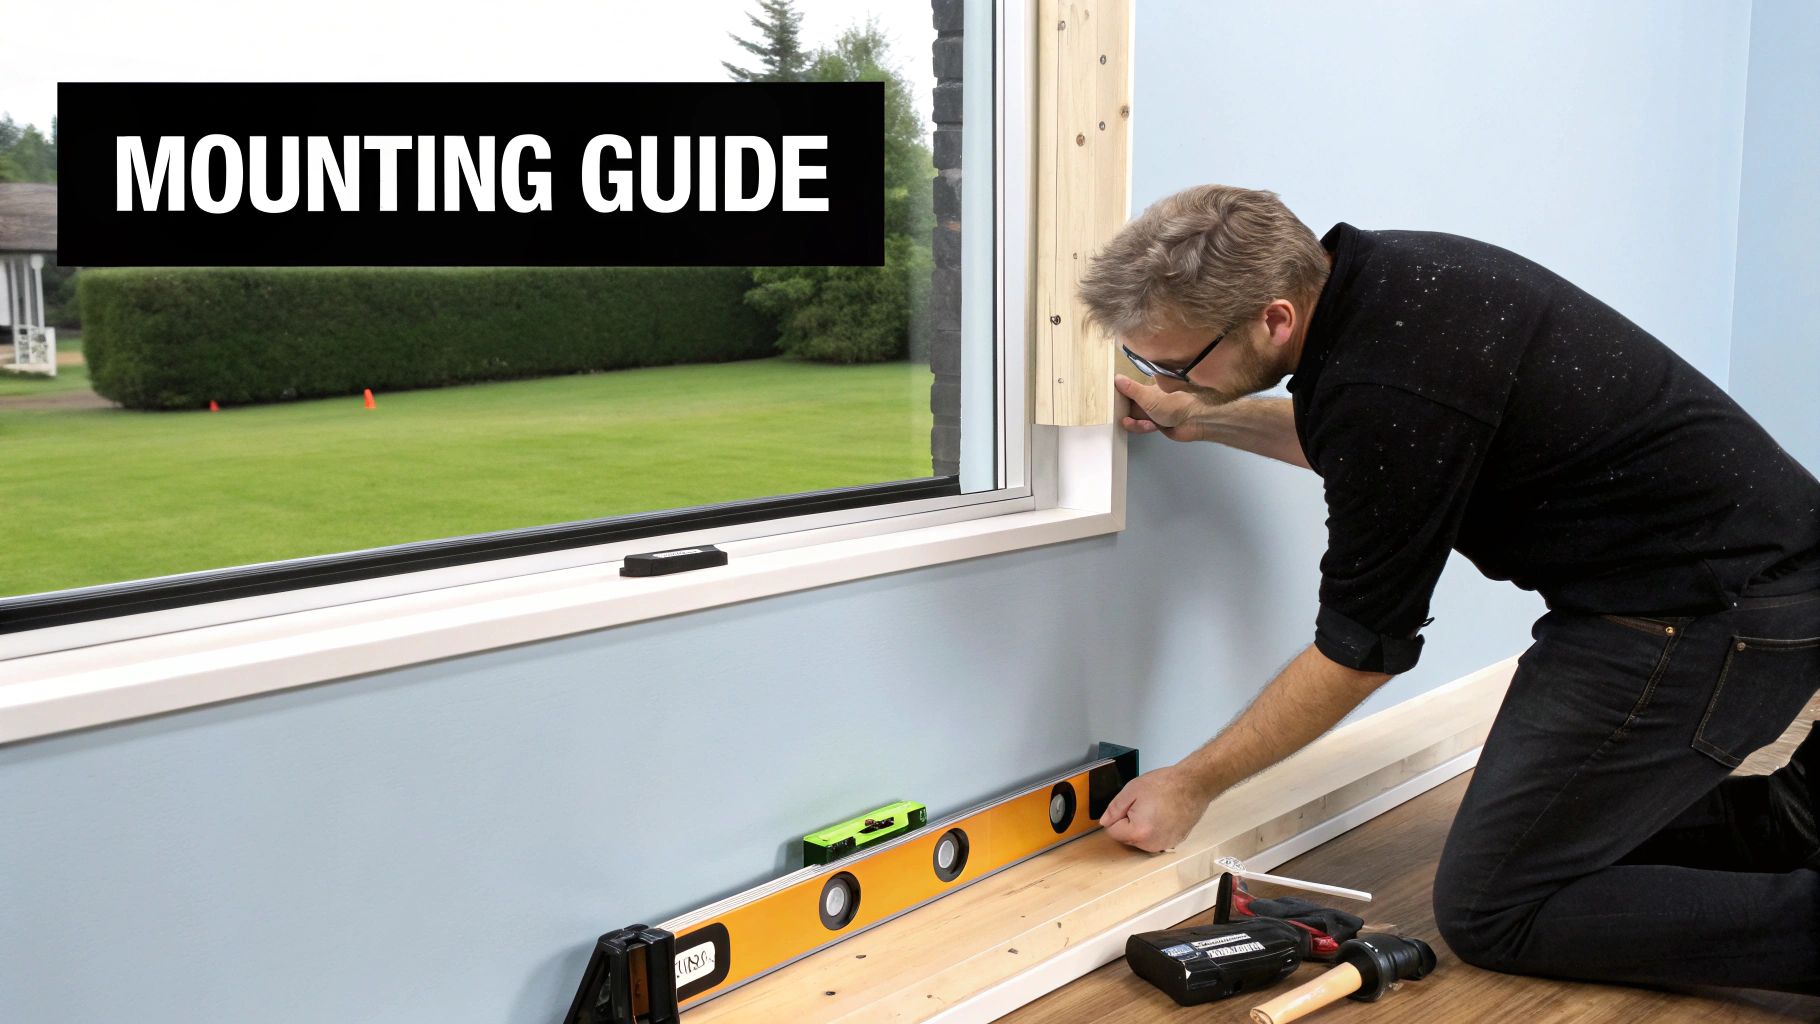
Positioning the Brackets
Getting a level finish all comes down to where you place the brackets. Hold the first one in position, either on the window frame for a recess fit or on the wall above it. From experience, a good rule of thumb is to place them about 5-7cm from each end of the headrail. This gives you sturdy support without getting in the way of the internal workings.
Once you’re happy with the position, use a pencil to lightly mark through the screw holes. Now, before you even think about picking up the drill, grab your spirit level and place it across your marks. Double-check they’re perfectly aligned. This is a non-negotiable step; even a tiny slant will be glaringly obvious once the blind is hanging.
Getting a Secure Fix
With your marks confirmed as level, it's time to drill. If you’re fixing into a wooden frame, it's wise to drill a small pilot hole first – this stops the wood from splitting when you drive the screw in. For plasterboard or brickwork, you’ll need to drill a hole for a wall plug. Gently tap the plug in until it’s completely flush with the surface.
Now you can screw the brackets firmly into place. Give them a little wiggle to make sure they’re rock solid. A secure foundation is key to your blinds working smoothly for years to come.
Of course, if drilling isn't an option for you, it’s worth exploring the benefits of no-drill Perfect Fit blinds – they're a brilliant alternative.
Expert Tip: Clipping the headrail into the brackets can be a bit fiddly the first time. The knack is to hook the front lip of the headrail into the bracket first. Then, simply push the back of the headrail upwards until you hear a satisfying 'click'. That sound means it's securely locked in on both sides.
The Finishing Touches
With the headrail firmly in place, you’re on the home stretch. Now it’s just about adding the final pieces that give your blinds a polished look.
Most Venetian blinds come with a decorative valance (sometimes called a pelmet). This piece is designed to clip neatly onto the front of the headrail, hiding all the metalwork and giving you a clean, professional finish.
Last but not least, attach the control wand to the little hook on the tilt mechanism. Give it a quick test to make sure the slats open and close smoothly. With clear instructions, most people get this right the first time – in fact, successful DIY completion rates now top 85%.
Fine-Tuning the Fit and Troubleshooting Common Snags
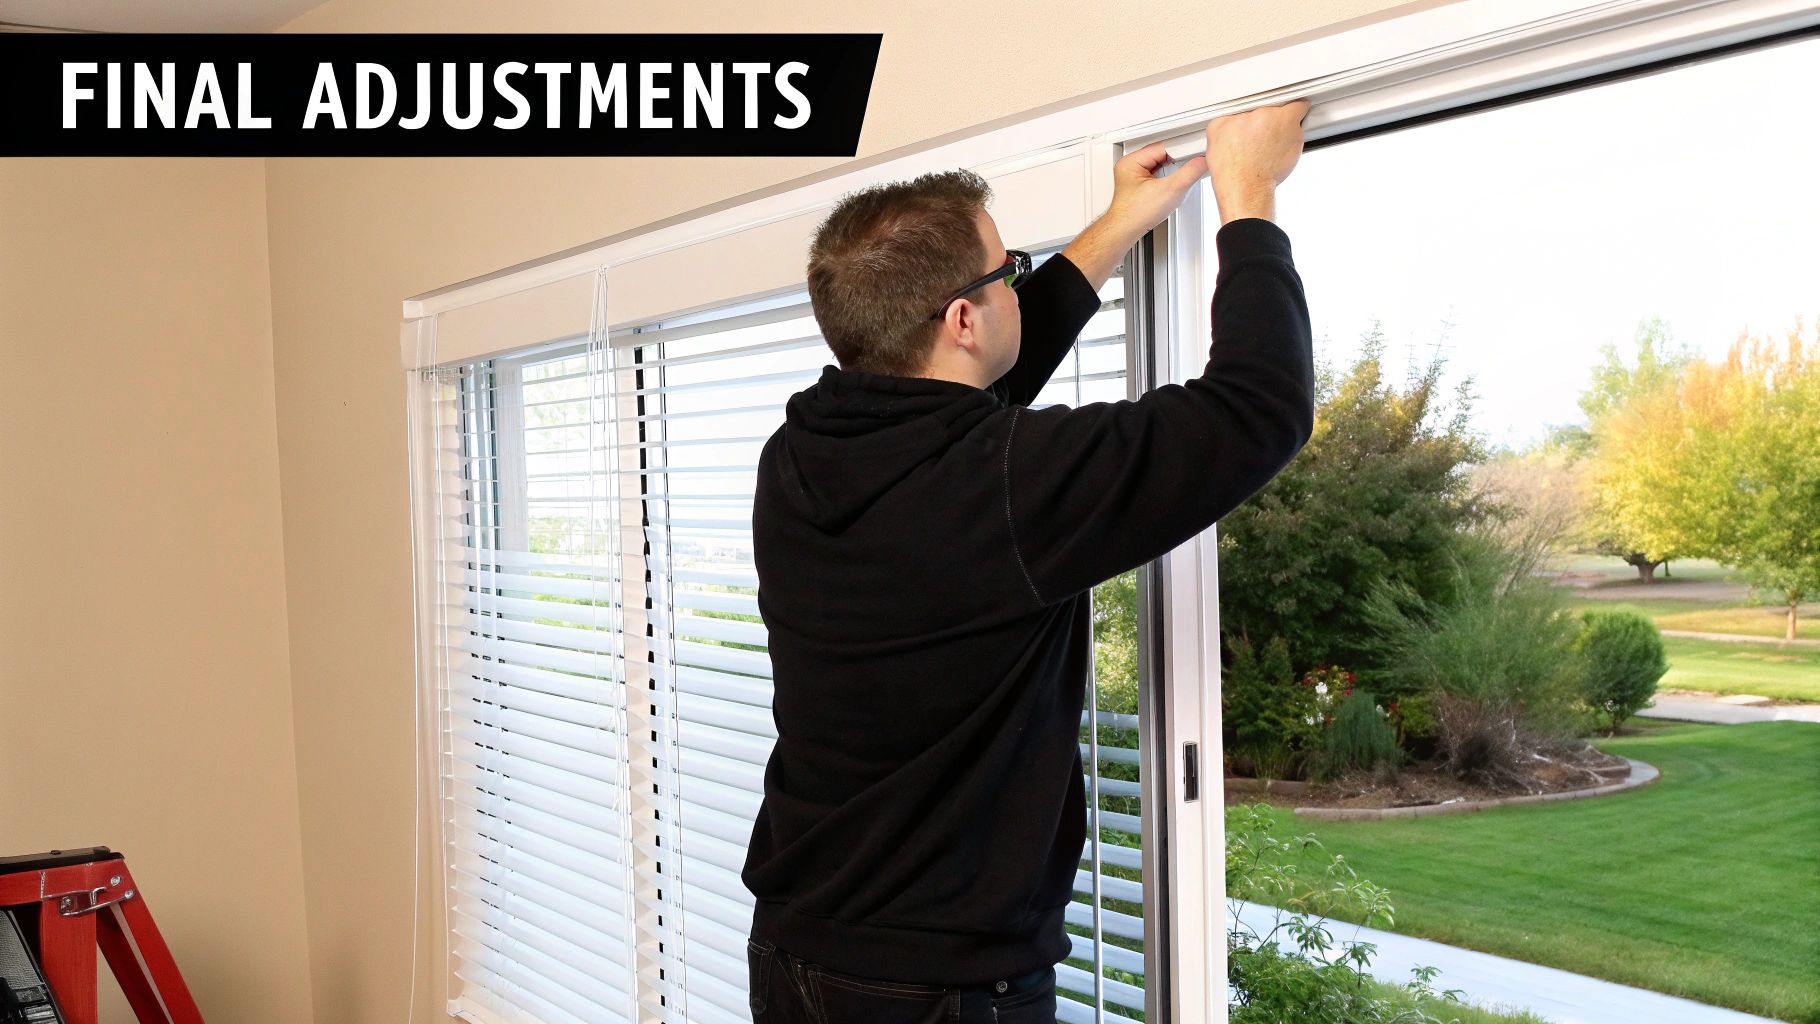
Alright, the blind is up on the wall, and the hard part is over. Now it's time for the final tweaks – the little details that take an installation from "good enough" to looking truly professional. This is where you make sure everything operates as smoothly as it should.
First things first, give your new blind a test run. Pull the lift cord and let the blind travel all the way down, then raise it back up again. You're feeling for any hitches or juddering. Then, give the tilt wand a few twists to check that the slats move in unison, opening and closing without a fuss.
Getting the Length Just Right
It’s a common scenario: you buy a standard-size blind, and it’s just a bit too long, leaving a clumsy-looking stack of extra slats sitting on the windowsill. Don't worry, trimming them down for a custom fit is simpler than it sounds.
Start by lowering the blind completely so you can see exactly where you want it to end. Pick the slat that will become your new bottom slat. On the underside of the current bottom rail, you'll see a couple of small plastic plugs. Pop these out with a flathead screwdriver or even a butter knife to get to the knotted lift cords inside.
Once you've untied those knots, the bottom rail will slide right off. You can now pull the excess slats out from the ladder cords. When you’re happy with the length, just thread the cords back through the bottom rail, tie new, secure knots at an even height, and snip off the leftover cord. Finally, push the plastic plugs back into place.
A quick tip from experience: When you're removing the excess slats, don't be tempted to cut the ladder cords right below your new bottom rail. Leave a few extra 'rungs' hanging. This gives you a bit of play for any future adjustments and helps the rail sit level.
Fixing Common Installation Hiccups
Even the most careful DIYer can run into a couple of head-scratchers. Here's how to sort out the two most frequent issues without breaking a sweat.
The blind hangs wonky: Before you panic, grab your spirit level and double-check that the headrail itself is perfectly level. If the headrail is fine, the problem is usually just that the internal cords have settled unevenly. The fix is often surprisingly simple: raise the blind all the way to the top. This effectively 'resets' the mechanism. Lower it again, and it should hang straight.
The slats won't tilt: If the wand feels jammed, don't try to force it, as you could damage the mechanism. This is almost always caused by a tangled cord inside the headrail. Carefully unclip the headrail from its brackets so you can get a look inside. You'll likely spot the snag right away. Gently untangle the cords, clip the headrail back in, and it should work perfectly.
Answering Your Venetian Blind Installation Questions
Even the best-laid plans can hit a snag, and DIY projects are no exception. When you're fitting Venetian blinds, a few common queries always seem to pop up. Let's walk through some of the most frequent challenges you might encounter.
Can I Install Blinds Directly onto uPVC Window Frames?
You absolutely can, but you need to be careful. Driving standard screws into a uPVC frame can wreak havoc on the internal beading and locking mechanisms. The trick is to use special uPVC screws, which are specifically designed to be short enough to get a solid fixing without penetrating too deeply.
A completely foolproof alternative is to use ‘no-drill’ brackets. These clever little clips just hook onto the window frame itself, giving you a secure mount without making a single hole. It's a great option if you're worried about your window warranty.
How Do I Shorten the Cords for Child Safety?
This is a non-negotiable final step for keeping little ones safe. With your blind fully installed and lowered, simply untie the knot hidden inside the bottom tassel.
Pull the inner cords up until the tassel is at your desired height, tie a new, tight knot, and snip off the excess cord just below it.
Crucially, you must always install the child safety cleat supplied with your blinds. Secure it high up on the wall, well out of a child's reach, and make a habit of wrapping the cords around it every single time. It's an essential part of a safe installation.
What's the Difference Between Real Wood and Faux Wood?
It really boils down to where the blind is going to live. Real wood offers that classic, warm aesthetic and is noticeably lighter to operate. However, it’s not a fan of moisture and can warp over time, so I’d steer clear of using it in bathrooms.
Faux wood, on the other hand, is made from a tough PVC composite. This makes it 100% waterproof, incredibly durable, and a breeze to wipe clean. It’s the go-to choice for steamy kitchens and bathrooms where humidity is a daily reality.
My Blinds Are Hanging Unevenly. How Can I Fix This?
First things first, grab your spirit level and double-check that your mounting brackets are perfectly level. If they're spot on, the culprit is almost always a tangle in the internal lift cords.
Luckily, the fix is usually straightforward. Just raise the blinds all the way to the top. This simple action often resets the mechanism and sorts out the cords. Lower them again, and they should hang straight.
For those tricky windows or if you'd simply prefer a professional touch, Blindsmart offers expert advice and a huge range of made-to-measure options on the Isle of Man. Find your perfect fit.
Comments