
How to Measure Bay Windows for Blinds a Perfect Fit Guide
- Blindsmart im
- Nov 6
- 14 min read

Getting the measurements right for bay window blinds is a classic DIY job that can feel a bit daunting, but it's really all about being methodical. The trick is to treat each window pane as its own separate unit while never losing sight of how they all connect at the angles. If you get that part right, you're well on your way to a perfect fit.
Your Essential Bay Window Measuring Toolkit
Before you even think about pulling out a tape measure, a bit of prep work will save you a world of headaches later. Getting a professional finish on your own is absolutely achievable, but it all starts with having the right gear and knowing exactly what kind of bay you're dealing with.
The Right Tools for the Job
First things first, that old, flimsy tape measure from the sewing box isn't going to cut it here. You need a sturdy, steel tape measure that won't droop or bend when you're measuring a wide window.
Grab a pencil and paper, too. A quick bird's-eye sketch of your bay window is the best way to keep track of your measurements without getting confused. I'd also highly recommend a protractor; it's a lifesaver for double-checking the angles, especially if you're in a classic Victorian or Edwardian property where nothing is ever perfectly standard.
Angled Bays vs Box Bays
Most homes in the UK will have one of two types of bay window, and your measuring approach will change slightly depending on which one you have.
Angled Bay Windows: These are what most people picture – a classic polygonal bay with three, five, or even seven windows set at angles to each other. They usually have a softer, more traditional feel with angles around 135°.
Box Bay Windows: You see these a lot more in modern homes. They're much simpler, forming a square or rectangular shape with two sharp 90° corners.
Figuring out which type you have is crucial. It determines exactly where the headrails of your blinds will meet in the corners and how much space you need to leave to make sure they don't foul each other when you operate them. British homes are full of quirky architectural details, so those angles can often vary between 30° and 45°. It’s no surprise that some UK retailers report that up to 60% of installation problems come from dodgy initial measurements. It’s a costly mistake that a little bit of care can easily prevent.
Pro Tip: Never, ever assume your angles are standard. I've seen it countless times. Use a protractor or a digital angle finder to get a precise reading. Being off by just a few degrees can throw the whole installation out and stop your blinds from fitting together neatly in the corners.
If you want to get a real feel for the fabrics and see how different blinds work before committing, it's always a good idea to find the best blinds showroom near me and see them in person.
Getting Your Measurements Right for Angled Bay Windows
Angled bay windows are a classic feature in so many British homes, adding character and light. But let's be honest, they can seem a bit intimidating to measure for blinds. The key isn't complicated geometry, but a simple, methodical approach. Think of it as three separate windows first, then figure out how they meet in the corners.
The very first thing I tell any client is to grab a piece of paper and a pencil. Just sketch a quick bird's-eye view of your bay. It doesn't have to be a work of art! This simple diagram will be your best friend, helping you keep track of which measurement belongs to which window pane. You’ll be taking quite a few, so this little map prevents any mix-ups.
Before you even pick up a tape measure, there are a couple of decisions to make. This quick rundown helps set the stage for a perfect measurement.
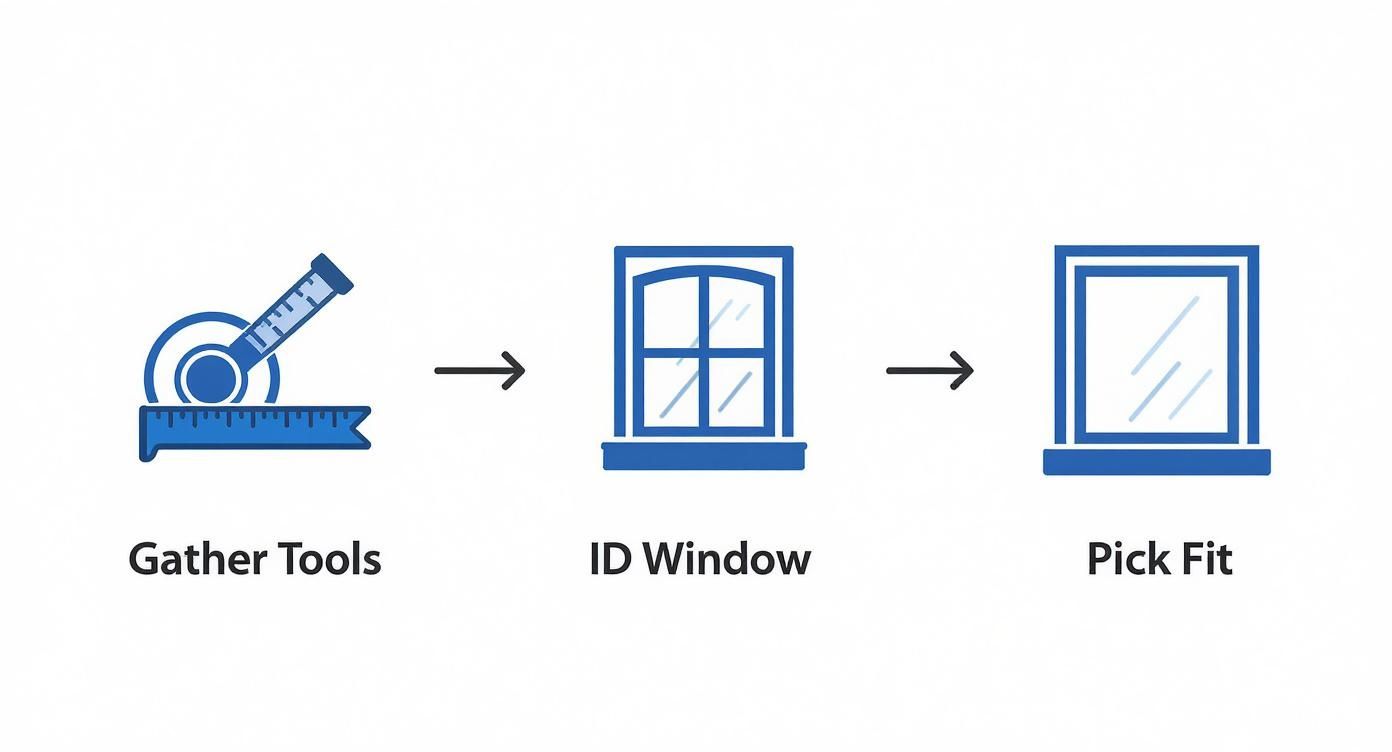
As you can see, gathering your tools and deciding on the fit style are the first steps. This foundation is crucial for getting the numbers spot on.
Recess Fit vs Exact Fit: A Quick Comparison
Understanding the two main fitting options is key before you measure. One sits inside the window frame (recess), and the other sits outside it (exact). This table breaks down the differences so you can choose what's best for your space.
Fitting Type | Where to Measure | Best For | Key Consideration |
|---|---|---|---|
Recess Fit | Inside the window frame, from wall to wall. | A clean, minimalist look where the blind is contained within the window opening. | You need enough depth to clear obstructions like handles. We make the deductions for you. |
Exact Fit | Outside the frame, onto the wall or window trim. | Covering the entire window area for maximum light block or when obstructions are in the way. | You decide the final blind size. Remember to add extra width for light coverage. |
Most people opt for a recess fit in bay windows as it looks neater, but an exact fit can be a great problem-solver if your window frames are very shallow or have bulky handles.
How to Measure Each Window Section
Assuming you've chosen a recess fit, where the blinds will sit tidily inside the frame, you'll need to measure the width and the drop for each pane of glass. And please, use a proper steel tape measure – those fabric ones can stretch and give you a wrong reading.
Start with the largest panel, usually the one in the middle.
For the width: Measure across the top, the middle, and the bottom of the recess.
For the drop (height): Measure down the left side, the centre, and the right side.
Jot down the smallest measurement for both the width and the drop on your diagram. Now, just repeat this exact process for the two side windows.
One of the most common mistakes I see is people only measuring once. Trust me, window frames are almost never perfectly square, especially in older homes. Taking three measurements and using the smallest one is a professional trick that guarantees your blind won't jam or scrape against the frame.
Nailing the Corner Meeting Points
This is the part that requires a little extra care. The goal is simple: get the blinds to meet as neatly as possible in the corners, without the headrails or fabrics crashing into each other. You need to figure out exactly where one blind stops and the next one starts.
The secret is to account for the depth of the blind itself. An easy way to do this is to take two steel tape measures and place them into the corner, mimicking the angle of your window to form a 'V' shape. Now, slide them along until the numbers on both tapes meet. This intersection point is where your fabrics will meet, marking the end of your measurement for one blind and the beginning of the next.
For instance, if you're fitting Roller blinds, their mechanism is often around 70mm deep. You'd measure from the back corner out to your desired meeting point on the side window, and then from that very same point across the front of the centre window. Roller blinds can be one of the trickier types to get right in a bay, but our specialist guide can walk you through the finer details. You can find out more by reading a practical guide to roller blinds for angled windows.
Don't Forget to Check for Obstructions
Before you finalise anything, take one last look around the window for anything that might get in the way of the blind. I'm talking about the little things people often overlook:
Window Handles: Are they bulky? Will the blind fabric catch on them as it comes down?
Dado Rails: Is there any decorative moulding on the wall that the blind might hit?
Vents: Many uPVC windows have trickle vents at the top of the frame.
Measure how far any of these things stick out. You have to make sure the blind is positioned far enough forward in the recess to clear them easily. If something like a large handle makes a recess fit impossible, you might have to switch plans and go for an 'exact fit' on the outside of the frame instead.
A Straightforward Guide to Measuring Box Bay Windows
At first glance, box bay windows seem much simpler to handle than their angled relatives. Those clean 90-degree angles can be deceptive, though. While the process is more direct, getting that flawless, professional finish still comes down to being precise.
The secret? It’s all about measuring each section in the right order and knowing exactly how the blinds will meet in the corners.
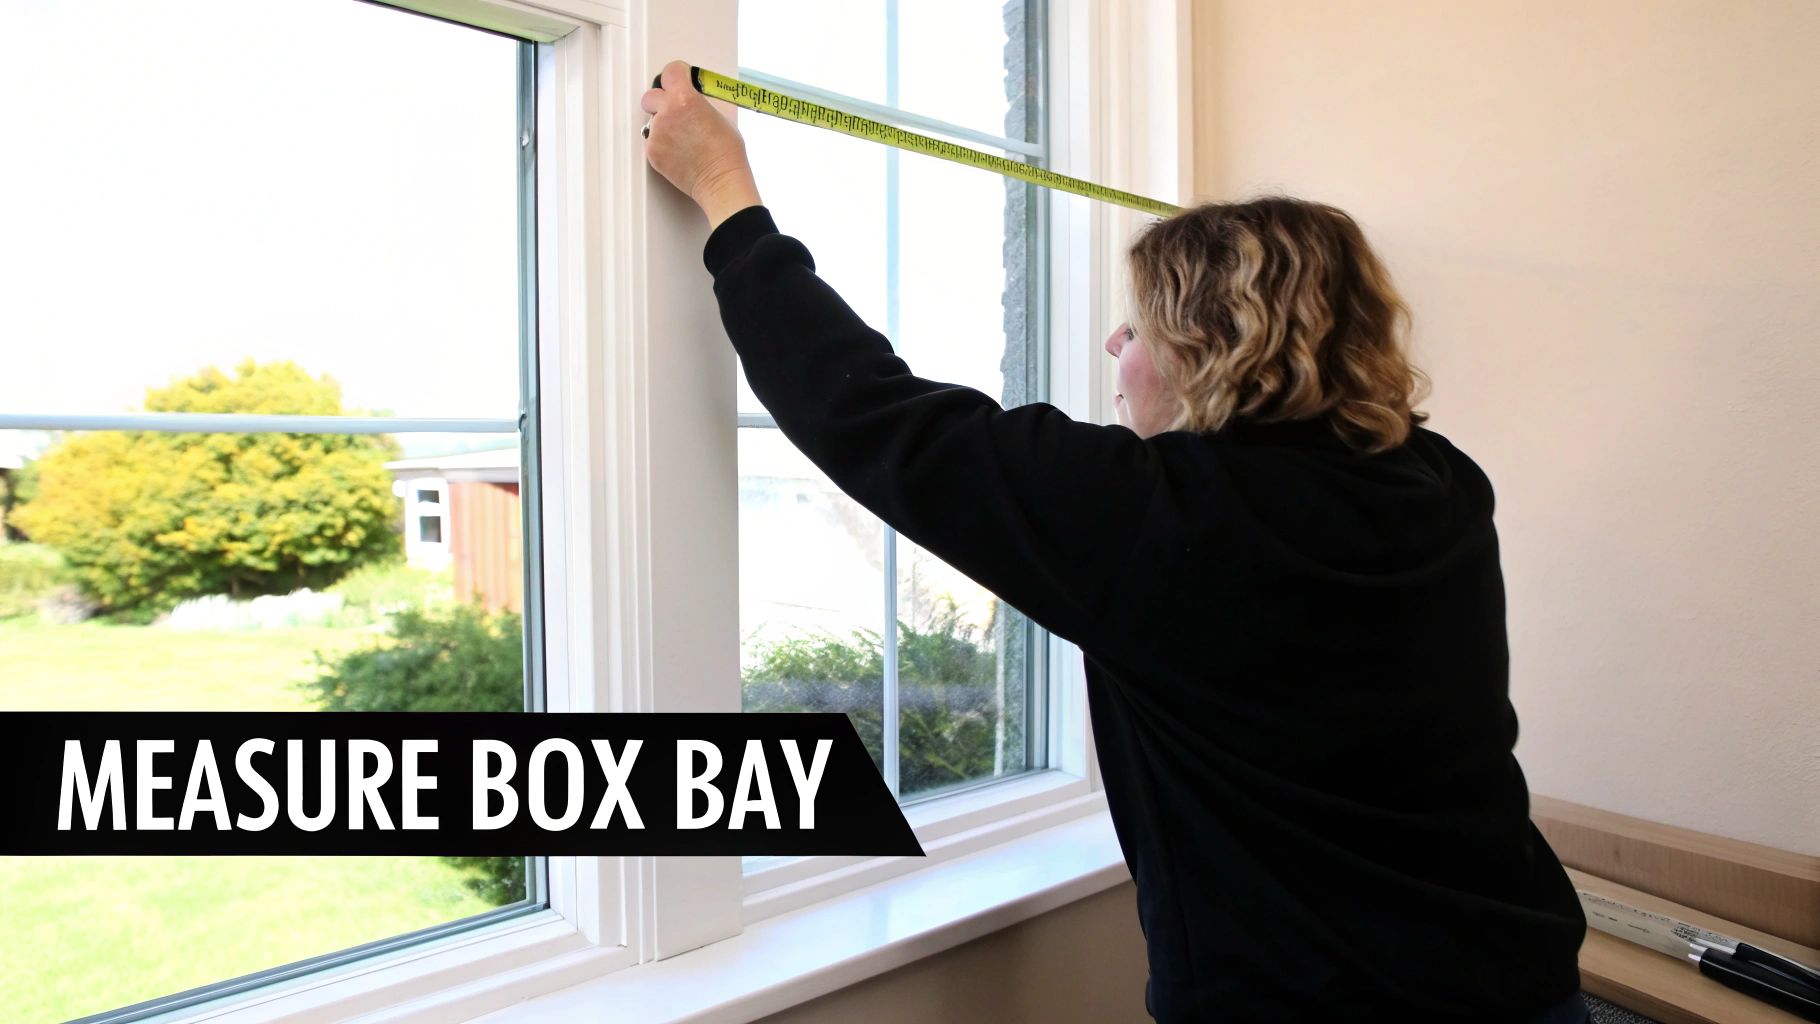
Unlike angled bays, the measuring sequence for a box bay isn't flexible. You absolutely have to start with the back, or centre, panel. Measuring this first gives you the full, unobstructed width you need to work from. Only then can you accurately figure out the sizes for the two side panels.
Measuring the Centre and Side Panels
To get a perfect recess fit, where the blinds sit neatly inside the window frame, follow this exact sequence. Sticking to this order is the key to making sure your blinds meet perfectly, without any awkward gaps or overlaps.
First, tackle the centre panel. Grab a steel tape measure and run it wall-to-wall across the back window recess. Don't just measure once—check the width at the top, middle, and bottom. Jot down the smallest of these three figures. That's your final width for the centre blind.
Now, measure the side panels. For each side window, you'll measure from the back corner wall all the way to the front edge of the window sill or frame. Just like before, take three width measurements (top, middle, and bottom) and write down the smallest number for each side.
The height, or drop, is measured the same way for all three sections. For each panel, measure from the top of the recess down to the window sill on the left, in the middle, and on the right. Again, the number you want to keep is the smallest of the three measurements for each panel.
A common pitfall I see is assuming the corners are perfectly square. If you have a set square, it’s worth a quick check. If the corners aren't true, your side measurements become even more critical to avoid a blind that's too long and jams against the centre one.
Planning the Corner Overlap
This is the most important part of the job: deciding how the blinds will actually meet. For the cleanest look, you want the centre blind to sit behind the two side blinds. This means you have to account for the depth of the blind’s headrail when you finalise your side panel measurements.
Let's say the headrail of your chosen Venetian blind is 50mm deep. You must subtract this amount from your overall side window measurement.
If your side window recess measured 600mm from the back corner to the front edge.
Your final blind width for that side would be 550mm (600mm - 50mm).
This simple deduction is what ensures the side blind doesn't jut out past the centre blind, creating that seamless corner finish we're after.
Bay window blind installation can be a real headache because of these little details. UK suppliers often stress how important careful measurement is to avoid problems, with some even recommending professional services. For more tips on how UK experts handle this, you can find great advice on measuring square bay windows from specialists like Swift Direct Blinds.
How Your Blind Choice Affects Your Measurements
Before you even think about picking up a tape measure, you need to have a good idea of which blind style you want. This isn’t just about aesthetics; it’s a crucial technical decision that completely changes how you need to measure. The headrail depth, how the fabric gathers, and the clearance needed in the corners are all dictated by the type of blind you choose.
Getting this right from the start is the secret to a professional, sleek finish, rather than a clumsy, ill-fitting mess.
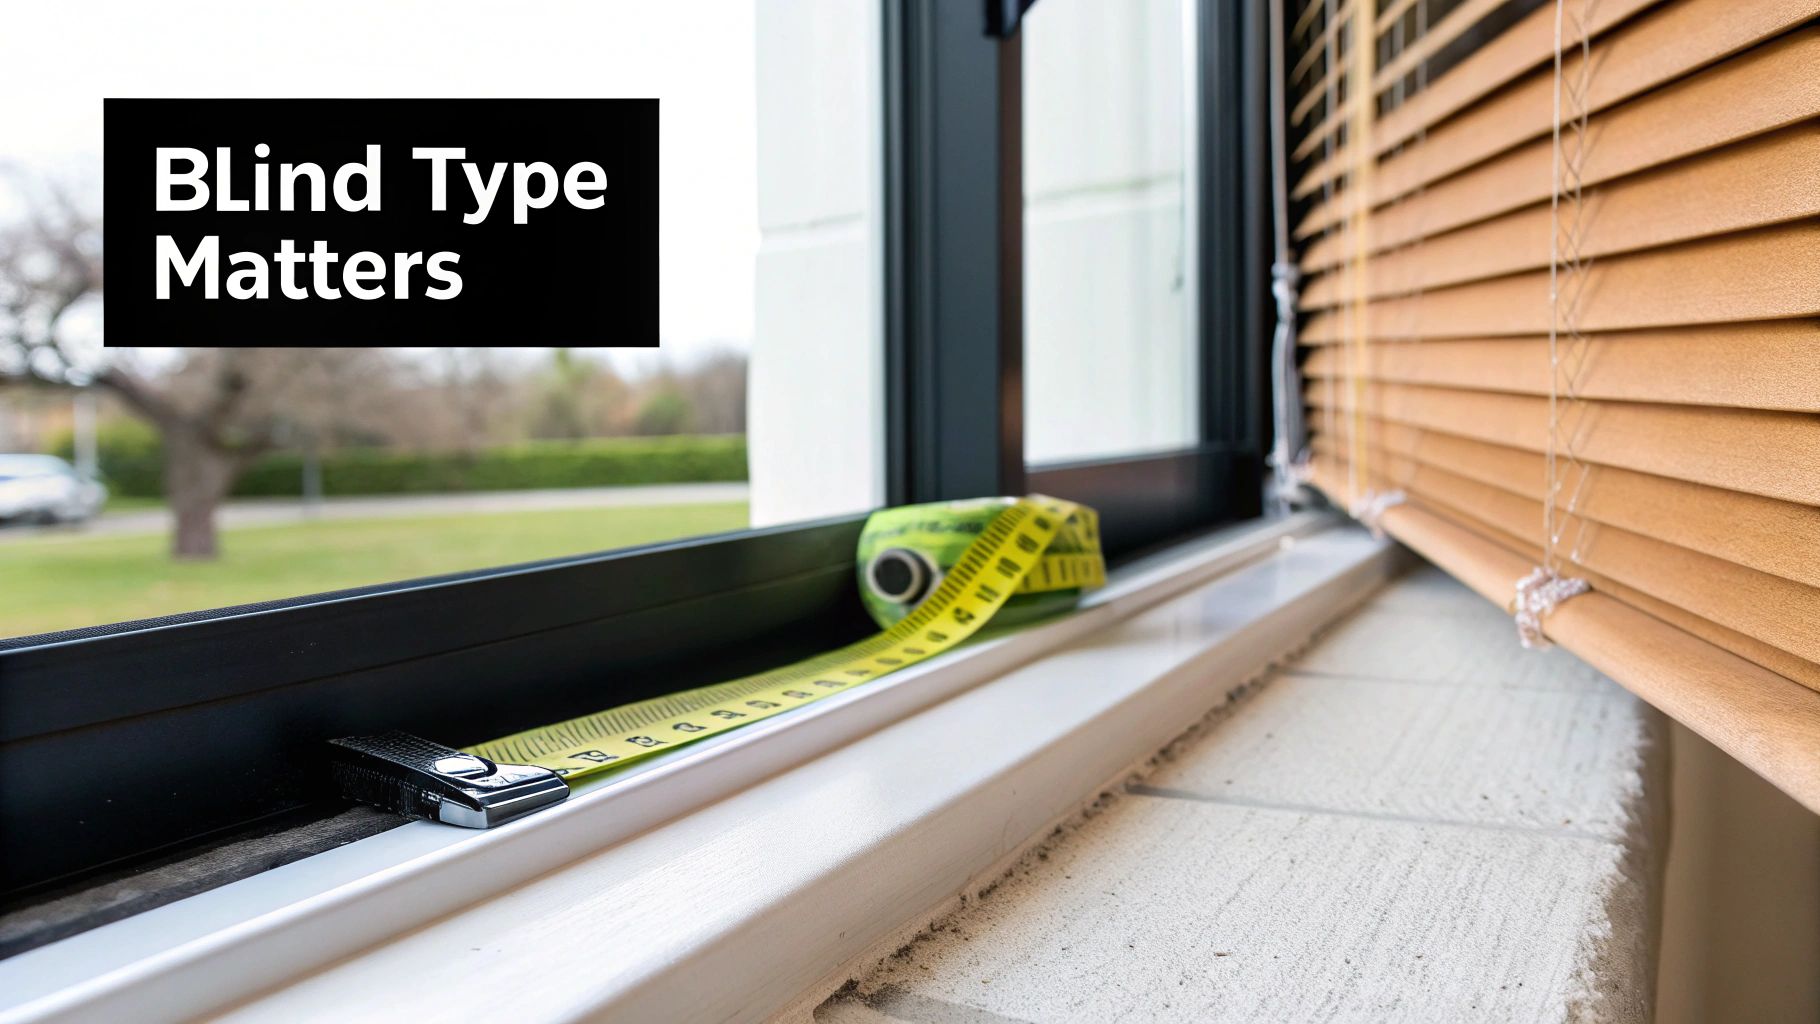
You have to understand the quirks of each blind type before finalising your numbers. A measurement that works perfectly for a slim Venetian blind could cause a frustrating clash if you suddenly decide to go for a bulkier Roman blind instead.
Roller Blinds: The Minimalist Choice
Roller blinds are a hugely popular, budget-friendly option for bay windows, offering a clean, modern look. But don't let their simplicity fool you – there's a key measurement consideration hidden within the headrail and its mechanism.
You absolutely must account for the depth of the roller mechanism, which can be up to 75mm. This figure is the most important number you'll use to calculate where your blinds meet in the corners. If you don't leave enough of a gap, you'll find the fabrics catch and snag every time you try to operate them.
Venetian Blinds: Precise Light Control
Venetian blinds, whether wooden or aluminium, are a fantastic choice for controlling light and privacy, making them a go-to for street-facing bays. One of their biggest advantages in a bay is their slim profile.
With a typical headrail depth of around 50mm, they are one of the easier styles to fit. This smaller depth means you don't need to make such a big deduction from your measurements, allowing the blinds to sit much tighter in the corners for a really neat, seamless finish.
Roman Blinds: The Stacking Height Factor
Roman blinds bring a real touch of elegance with their soft fabric folds, but they also bring a unique measuring challenge: stacking height. This is simply the amount of space the blind takes up at the very top of the window when it's pulled all the way up.
This stack can be surprisingly deep, often 20cm or more, depending on the length of your window and the thickness of the fabric. You have to make sure this stack won't block your view or, crucially, catch on the adjacent blind in the corner. If you have a particularly shallow window recess, this can sometimes be a deal-breaker.
Expert Insight: When I'm fitting Roman blinds in a bay, I always recommend mounting them as high and as far forward in the recess as you can. This little trick maximises the amount of glass you see when they’re open and helps the fabric stacks clear each other at the angles.
Vertical Blinds: A Practical Solution
For large, tall bay windows, vertical blinds are an excellent, practical solution that offers brilliant light control. The main thing to think about here is the headrail, which needs to run cleanly across the full width of each window section.
You need to be sure there’s enough flat, level surface at the top of the recess to mount the track securely. Also, think about the slat rotation. You must leave enough clearance for the slats to twist a full 180 degrees without smacking into window handles or the neighbouring blind.
Ultimately, getting your head around these small but vital differences is key. For a deeper dive into the pros and cons of different styles, you can explore our guide on finding the best blinds for bay windows in the UK, which offers more detailed advice for your home.
Common Measuring Pitfalls and How to Sidestep Them
When it comes to made-to-measure blinds, being 'almost right' is the same as being completely wrong. A tiny miscalculation can mean your blinds look off-kilter, don't work properly, or worse, don't fit at all. It pays to treat this final check as your own personal quality control before you commit.
One of the most common blunders I see is people measuring just the glass panel. Your blinds need to fit the entire recess—wall to wall, and from the top of the opening right down to the sill. If you only measure the glass, you'll end up with blinds that are far too small for the space.
Another classic slip-up is forgetting to spot potential obstructions. It's those little things you barely notice day-to-day that can become a real nuisance once the blinds are up.
Window Handles: A chunky handle can easily get in the way, preventing a blind from lowering all the way.
Dado Rails: That decorative moulding on your wall might look lovely, but it can stop a blind in its tracks.
Trickle Vents: These are common at the top of uPVC window frames and can foul the blind's headrail if you're not careful.
Take a moment to measure how far these things protrude. You'll need to make sure your blind is positioned far enough forward in the recess to clear them without a fuss.
Nailing the Final Checks
First off, ditch that flimsy tape measure you found in the back of a drawer. A sturdy, metal tape measure is non-negotiable for getting precise readings. The fabric or plastic ones can easily stretch or sag, throwing your numbers off completely.
The best way to get it right is to think like a professional fitter. They live by a simple but crucial rule: measure three times, order once. For each window section, take the width and drop measurements at three different points. Always, and I mean always, use the smallest of the three figures. This simple trick accounts for the fact that most window recesses aren't perfectly square, especially in older homes.
The Sanity Check: After you've got all your numbers neatly written on your diagram, just take a step back. Have a proper look. Do the figures seem right? Do the deductions you've made for the headrails feel logical? Pausing for a moment to visualise it all can help you catch a glaring error before it becomes an expensive mistake.
Knowing When to Call in a Pro
Look, even with the best guide in the world, some bay windows are just plain awkward. If you're feeling overwhelmed or just not confident, there's no shame in calling for professional help. This is particularly true for really complex bay shapes or in period properties where nothing is straight.
It's also worth noting that many UK suppliers are now offering a bit of a safety net. Some provide ‘MeasureSafe’ cover, which acts as insurance against your own measuring mistakes. In fact, industry figures show that around 15% of UK homeowners opt for a professional measuring service for their bay windows, purely for the peace of mind. You can see how suppliers like Blinds4You are building in these safeguards to help their customers get it right the first time.
Your Bay Window Measurement Questions Answered
Even with a step-by-step guide, measuring a bay window can throw up a few curveballs. Every bay has its own quirks, so it’s completely normal to hit a point where you’re just not sure what to do next.
Let's run through some of the most common questions we get from customers. Think of this as the final troubleshooting step before you confidently place your order.
Do I Need Special Brackets for Bay Window Blinds?
Yes, almost certainly. Standard brackets are designed for flat windows and just won't cut it for the angles in a bay. To get that clean, professional finish in the corners, you’ll need specific bay window corner brackets or bay posts.
These clever bits of kit are designed to connect the headrails of each blind at the perfect angle, letting them meet up neatly without clashing. When you order, it’s crucial to flag that the blinds are for a bay window. This tells us to send the right hardware, which will make your life a whole lot easier when it comes to installation.
What Is the Best Blind for a Shallow Bay Window Recess?
A shallow recess can feel like a real headache, but you’ve still got some great options. Venetian blinds are often the go-to solution here. Whether you choose aluminium or wood, their headrails are generally quite slim, meaning they don't need much depth to fit nicely.
If you’re working with a really tight space, Perfect Fit blinds are an even better bet.
They don't use the recess at all, instead clipping directly onto the uPVC window frame.
Because they sit neatly within the glass area, recess depth becomes a non-issue.
They also move with the window, which is ideal if you open your bay windows often.
Both of these give you a fantastic, integrated look without sacrificing any functionality, even when space is at a premium.
A Quick Reminder: Don't just hope a standard blind will fit a shallow recess. Always double-check the product specs for the required headrail depth before you fall in love with a style. A few minutes checking now can save a lot of frustration later.
How Much Do I Deduct for a Recess Fit Measurement?
This is the big one, and it catches a lot of people out. When you're measuring for a recess fit, you don't make any deductions yourself. Your only job is to provide the tight, exact measurement of the space.
Carefully measure the wall-to-wall width and the top-to-sill height for each section of your bay. Give us those raw, accurate numbers. We then make the small, precise deductions—usually around 10mm from the width—at our end. This ensures the finished blind has just enough clearance to operate smoothly without scraping the sides. If you try to make your own deductions, you’ll almost always end up with blinds that are too small for the window.
At Blindsmart, we specialise in helping you find the perfect made-to-measure solution for any window, no matter how tricky. Explore our extensive collection and get expert advice at https://www.blindsmart-im.co.uk.
Comments